How to Sanitize Your Menstrual Cup for Safe, Hygienic Use
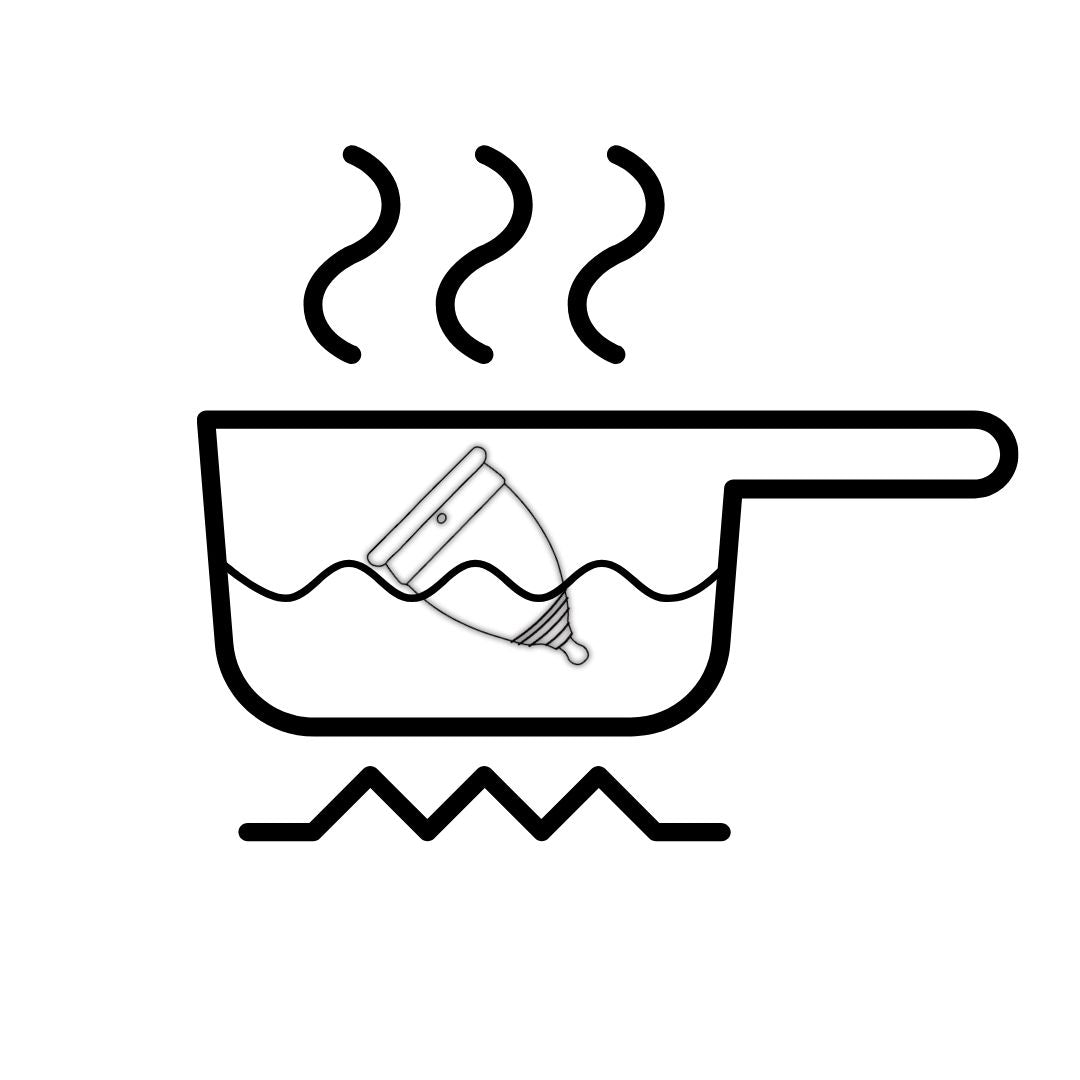
Boil your menstrual cup for 5 minutes at the start of each cycle to kill bacteria and keep it fresh. Always wash your hands with mild, fragrance-free soap before inserting or removing the cup. Clean handling helps prevent irritation and infection while extending the life of your cup. A clean cup = a confident cycle.

Cup Anatomy
Before getting started, it helps to know the parts of your Hume’s Cup.
Each part supports comfort, removal, and leak prevention:
Rim– helps the Cup open and seal
Holes (x4)– aid in secure suction
Ribbed Area– pinch here to remove
Stem– for locating the Cup (never pull)
Boil the Cup for 5 minutes at the start of each cycle, and always wash your hands before insertion or removal.
Choose Your Cup Size
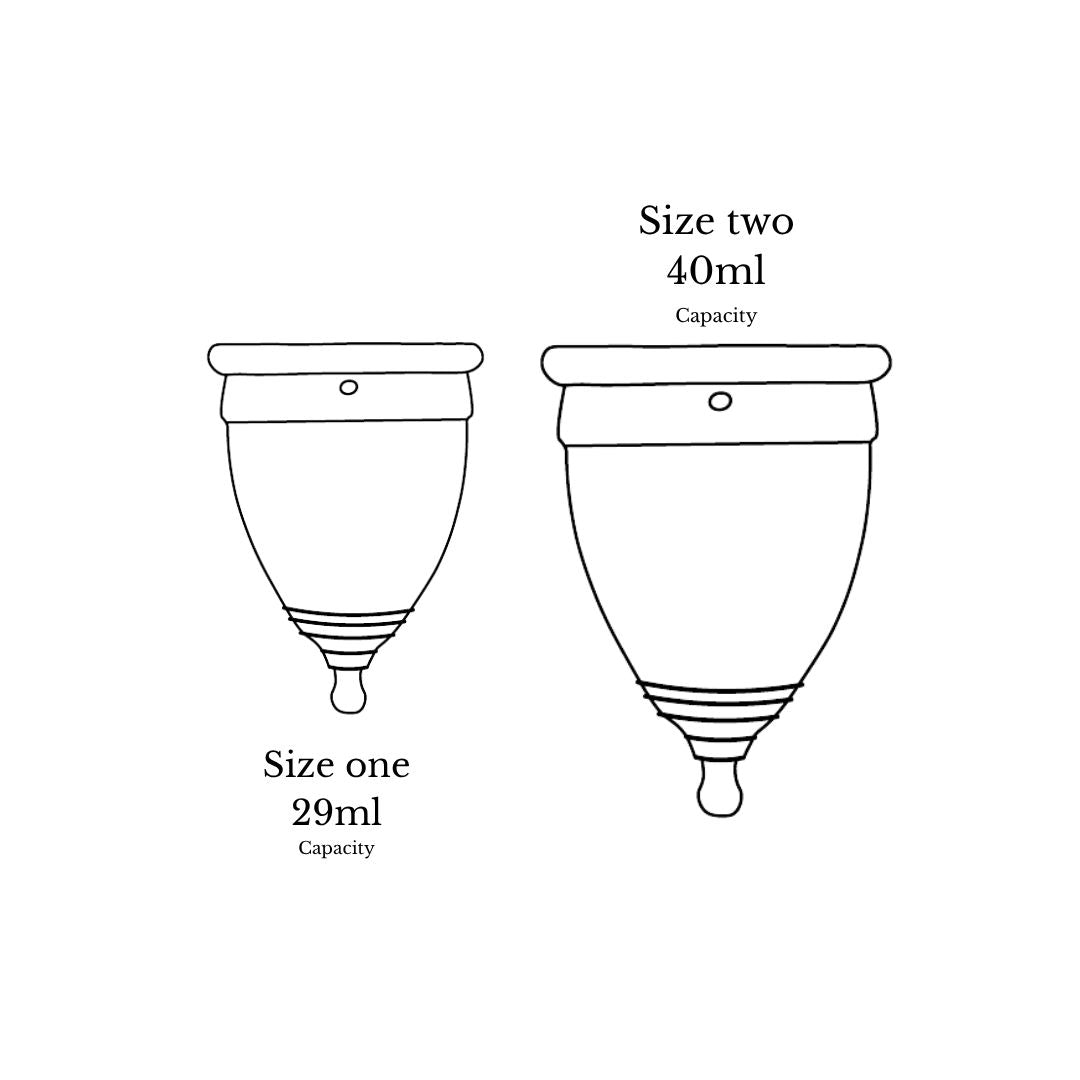
Size 1holds up to 29ml and is recommended for people under 30 or those who have not given birth vaginally. It has a smaller diameter and offers a secure, comfortable fit for lighter to moderate flow.
Size 2holds up to 40ml and is recommended for people over 30 or those who have given birth vaginally. It has a slightly wider diameter and offers more capacity for heavier flow.
Both sizes provide the same comfort and protection—just choose what fits your body best.
Inserting Your Cup.
-

1. Clean Hands. Clean Cup. Always.
Before inserting or removing your Hume’s Cup, wash your hands thoroughly with warm water and mild, fragrance-free soap.
Rinse your hands and your Cup well to help prevent irritation or infection. -

2. Make sure the four air holes at the top of your Cup are clear and unclogged.
This is an important step that helps ensure proper suction during use and makes removal easier later.
-

3. Check Before Inserting
To prevent injury, make sure nothing is inside your vagina before inserting the Cup. This step is especially important after intercourse or if you use internal products like ovules or suppositories.


-

4. Find Your Fold: C Fold or Pushdown Fold
There’s no one-size-fits-all fold! The most common folds are the “C” Fold and the “Pushdown Fold.”
Try each method to see which works best for your body and comfort.
A good fold makes insertion smoother and helps the Cup pop open properly inside. -

5. Find Your Best Insertion Position
Choose a position that feels natural and relaxed—squat, sit on the toilet, or raise one leg. Finding the right position helps your pelvic muscles relax, making insertion smoother and more comfortable.
-

6. Insert at an Angle
Use one hand to gently separate your labia. With the other hand, slide the folded Cup into your vagina at an upward-backward angle—aiming toward your tailbone. The Cup should go in rim first and open up as it moves into place. Relaxing your pelvic floor helps with easier insertion.


-

7. Check the Seal
Ensure the Cup is fully open and sealed against your vaginal walls. Gently pinch the ribbed area (above the stem) and rotate to confirm suction. Run a finger around the Cup to check for any folds or indentations — this helps prevent leaks.
⚠️Warning:The Cup isnota contraceptive device and doesnotprotect against pregnancy or STDs.
To prevent injury, avoid vaginal penetration while wearing the Cup.

Removing Your Cup
-

1. Clean Hands First
To prevent irritation or infection, always wash your hands with warm water and a mild, fragrance-free soap before removing your Cup.
-
2. Get Comfortable
Choose a position that helps you relax — squatting, raising one leg, or sitting on the toilet can make removal easier and less messy.
-

3. Break the Seal Gently
Suggested Text:Use your thumb and index finger to pinch the ribbed area just above the stem. Gently press or wiggle to release the seal before pulling down.
Warning:Do not pull directly on the stem and avoid rushing this step to protect your pelvic floor.


-

4. Slide Out Slowly
Tilt the Cup slightly forward while sliding it out to keep it upright and prevent spills. Always support the base as it exits.
-

5. Empty, Rinse, and Reinsert
Empty the contents of your Cup into the toilet. Rinse your Cup thoroughly with fresh water (and mild soap if needed), then reinsert as usual. This simple step helps maintain hygiene and comfort throughout your cycle.
-

6. Sanitize After Your Cycle & Store Your Cup
At the end of your cycle, wash your Hume’s Cup thoroughly and sanitize it by boiling for 5 minutes. Let it dry completely and store it in a clean, ventilated container (like a cotton pouch). Avoid airtight containers, as they can trap moisture and encourage bacteria.


-
7.Tips for Easy Removal
If you have difficulty finding the Cup, use your thumb and index finger to locate the Stem while gently engaging your pelvic floor muscles.
❗Do not pull the Cup out from the Stem. Always grip the ribbed area above the Stem to remove the Cup safely and comfortably. The Stem is only a locator — not a handle.
Tilt the Cup forward slightly as you withdraw it from the vaginal opening. This helps you keep it upright and reduces the chance of spills.
-

8. Important Warning – Using a Cup with an IUD
⚠️ If you have any gynecological condition or plan to use a menstrual cup with an intrauterine device (IUD), consult your gynecologist first.
There is a small risk that incorrect insertion or removal may dislodge the IUD or pull on the strings. Your healthcare provider can guide you on safe use of the Cup with your IUD in place.
